Taking Photos with the Camera
Now for the fun part - adding the ability to take photos with the device’s camera using the Capacitor Camera API. We’ll begin with building it for the web, then make some small tweaks to make it work on mobile (iOS and Android).
All Capacitor logic (Camera usage and other native features) will be encapsulated in a service class. Create PhotoService using the ionic generate command:
ionic g service services/photo
Open the new services/photo.service.ts file, and let’s add the logic that will power the camera functionality. First, import Capacitor dependencies and get references to the Camera, Filesystem, and Storage plugins:
import { Camera, CameraResultType, CameraSource, Photo } from '@capacitor/camera';
import { Filesystem, Directory } from '@capacitor/filesystem';
import { Preferences } from '@capacitor/preferences';
Next, define a new class method, addNewToGallery, that will contain the core logic to take a device photo and save it to the filesystem. Let’s start by opening the device camera:
public async addNewToGallery() {
const capturedPhoto = await Camera.getPhoto({
resultType: CameraResultType.Uri,
source: CameraSource.Camera,
quality: 100
});
}
Notice the magic here: there's no platform-specific code (web, iOS, or Android)! The Capacitor Camera plugin abstracts that away for us, leaving just one method call - Camera.getPhoto() - that will open up the device's camera and allow us to take photos.
Next, open up tab2.page.ts and import the PhotoService class and add a method that calls the addNewToGallery method on the imported service:
import { PhotoService } from '../services/photo.service';

constructor(public photoService: PhotoService) { }

addPhotoToGallery() {
  this.photoService.addNewToGallery();
}
Then, open tab2.page.html and call the addPhotoToGallery() function when the FAB is tapped/clicked:
<ion-content>
  <ion-fab vertical="bottom" horizontal="center" slot="fixed">
    <ion-fab-button (click)="addPhotoToGallery()">
      <ion-icon name="camera"></ion-icon>
    </ion-fab-button>
  </ion-fab>
</ion-content>
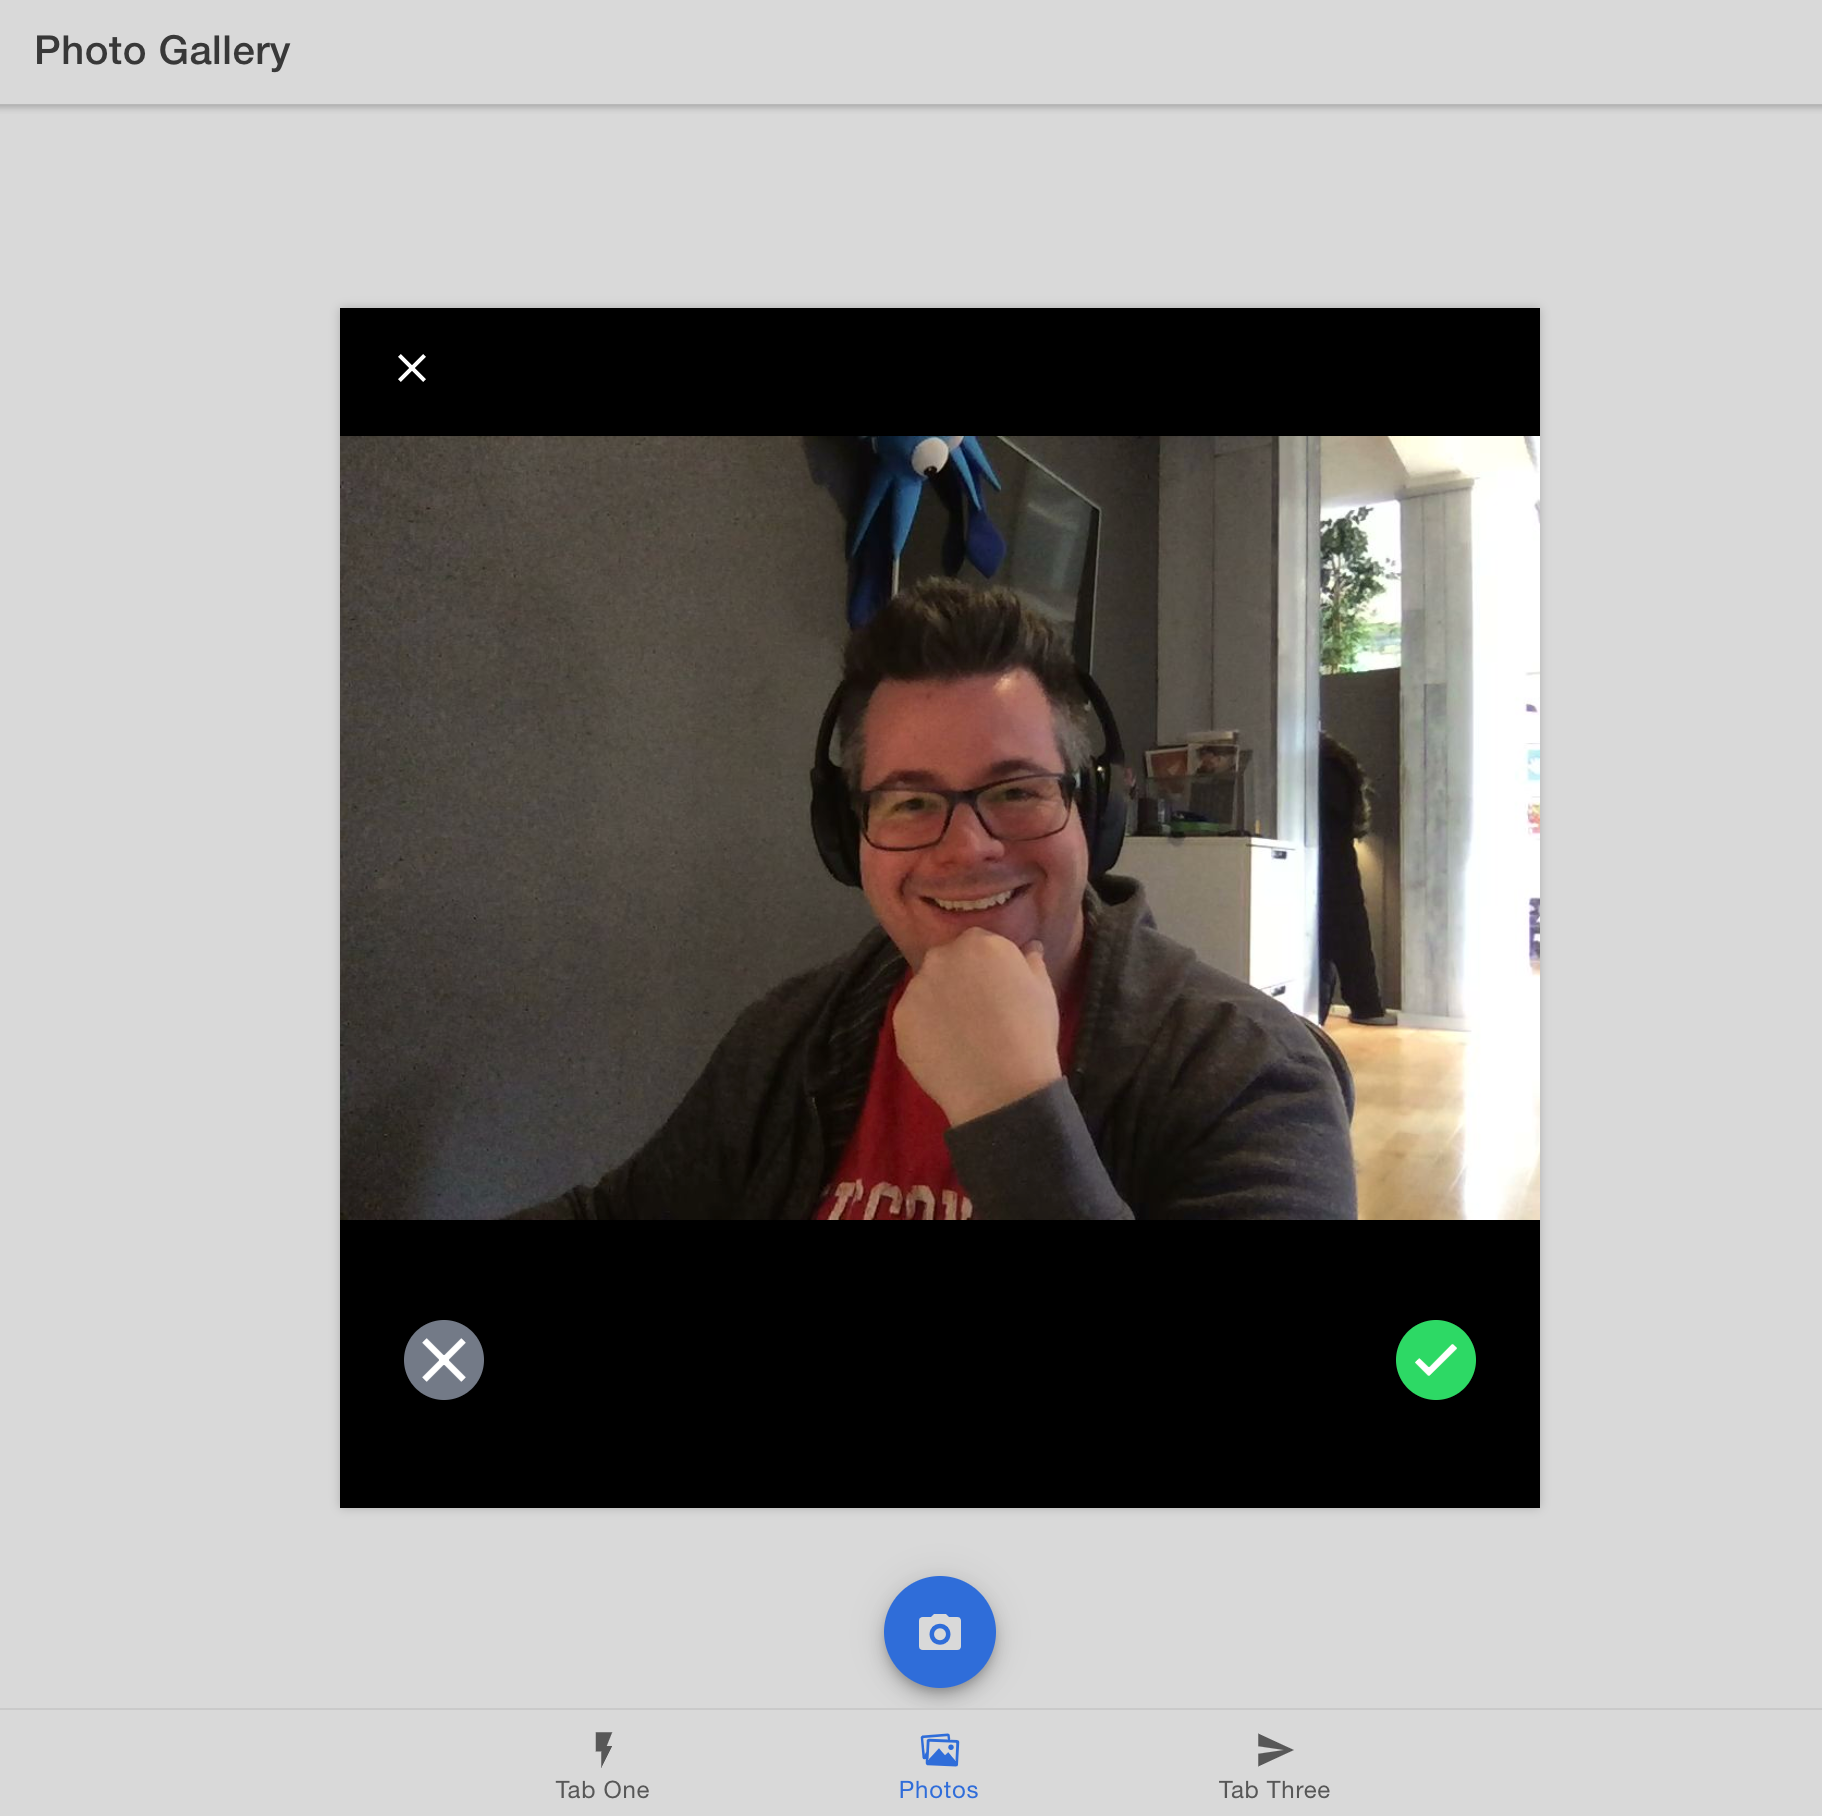
Save the file, and if it's not running already, restart the development server in your browser by running ionic serve. On the Photo Gallery tab, click the Camera button. If your computer has a webcam of any sort, a modal window appears. Take a selfie!

(Your selfie is probably much better than mine)
After taking a photo, it disappears right away. We need to display it within our app and save it for future access.
Outside of the PhotoService class definition (the very bottom of the file), create a new interface, UserPhoto, to hold our photo metadata:
export interface UserPhoto {
  filepath: string;
  webviewPath: string;
}
Back at the top of the file, define an array of Photos, which will contain a reference to each photo captured with the Camera.
export class PhotoService {
public photos: UserPhoto[] = [];
}
Over in the addNewToGallery function, add the newly captured photo to the beginning of the Photos array.
  const capturedPhoto = await Camera.getPhoto({
    resultType: CameraResultType.Uri,
    source: CameraSource.Camera,
    quality: 100
  });

  this.photos.unshift({
    filepath: "soon...",
    webviewPath: capturedPhoto.webPath
  });
}
Next, move over to tab2.page.html so we can display the image on the screen. Add a Grid component so that each photo will display nicely as photos are added to the gallery, and loop through each photo in the PhotoServices's Photos array, adding an Image component (<ion-img>) for each. Point the src (source) at the photo’s path:
<ion-content>
<ion-grid>
<ion-row>
<ion-col size="6" *ngFor="let photo of photoService.photos; index as position">
<ion-img [src]="photo.webviewPath"></ion-img>
</ion-col>
</ion-row>
</ion-grid>
</ion-content>
Save all files. Within the web browser, click the Camera button and take another photo. This time, the photo is displayed in the Photo Gallery!
Up next, we’ll add support for saving the photos to the filesystem, so they can be retrieved and displayed in our app at a later time.